
If you hear strange sounds coming from your generator and you’re not sure where they’re coming from, it might be because the air filter assembly is damaged. If you discover this problem, it’s important to replace the air filter assembly right away. Ignoring it could lead to the air filter box breaking, allowing dirt to enter through the air intake. This can cause damage to the engine and the valves in the head.
But don’t worry, “Mechanic Guide” is here to explain how to change generator air filter assembly, including images and video. For all traditional open-frame generators like Honda, Yamaha, Champion, and Generac, the process is the same. However, the process for changing closed-frame inverters is slightly different.
What is an Air Filter Box?
A generator includes multiple technical components, each of which is essential to its operation. But some parts might seem less important than others. For example, people might not realize how vital a generator’s battery is, but they might think things like engine oil or spark plugs aren’t as necessary.
But this is a big mistake. Without these parts, the generator wouldn’t work properly and might stop running altogether in just a few days. The same goes for the engine’s air filter box. This part is essential for the generator air intake system. It holds the air filter and is usually found between the air intake hose and the carburetor.
So, How to Change Generator Air Filter Assembly
Quickly locate it on the generator’s left side, remove the cover, foam filter, and metal grate, and remove the rubber hoses and three nuts. After removing the filter assembly, installing the new assembly involves sliding it in place, reattaching nuts and hoses, replacing the metal grate, and inserting the foam filter before closing the cover.
Tools and Material
- Pliers
- Wrench
- Screwdriver (if required)
- T-Handle (10mm)
- New air filter assembly (compatible with your generator model)
Before starting any maintenance work on your generator, be sure to follow proper safety precautions. include shutting down the generator, removing the spark plug wire boot, and allowing it to cool down before accessing the air filter assembly.
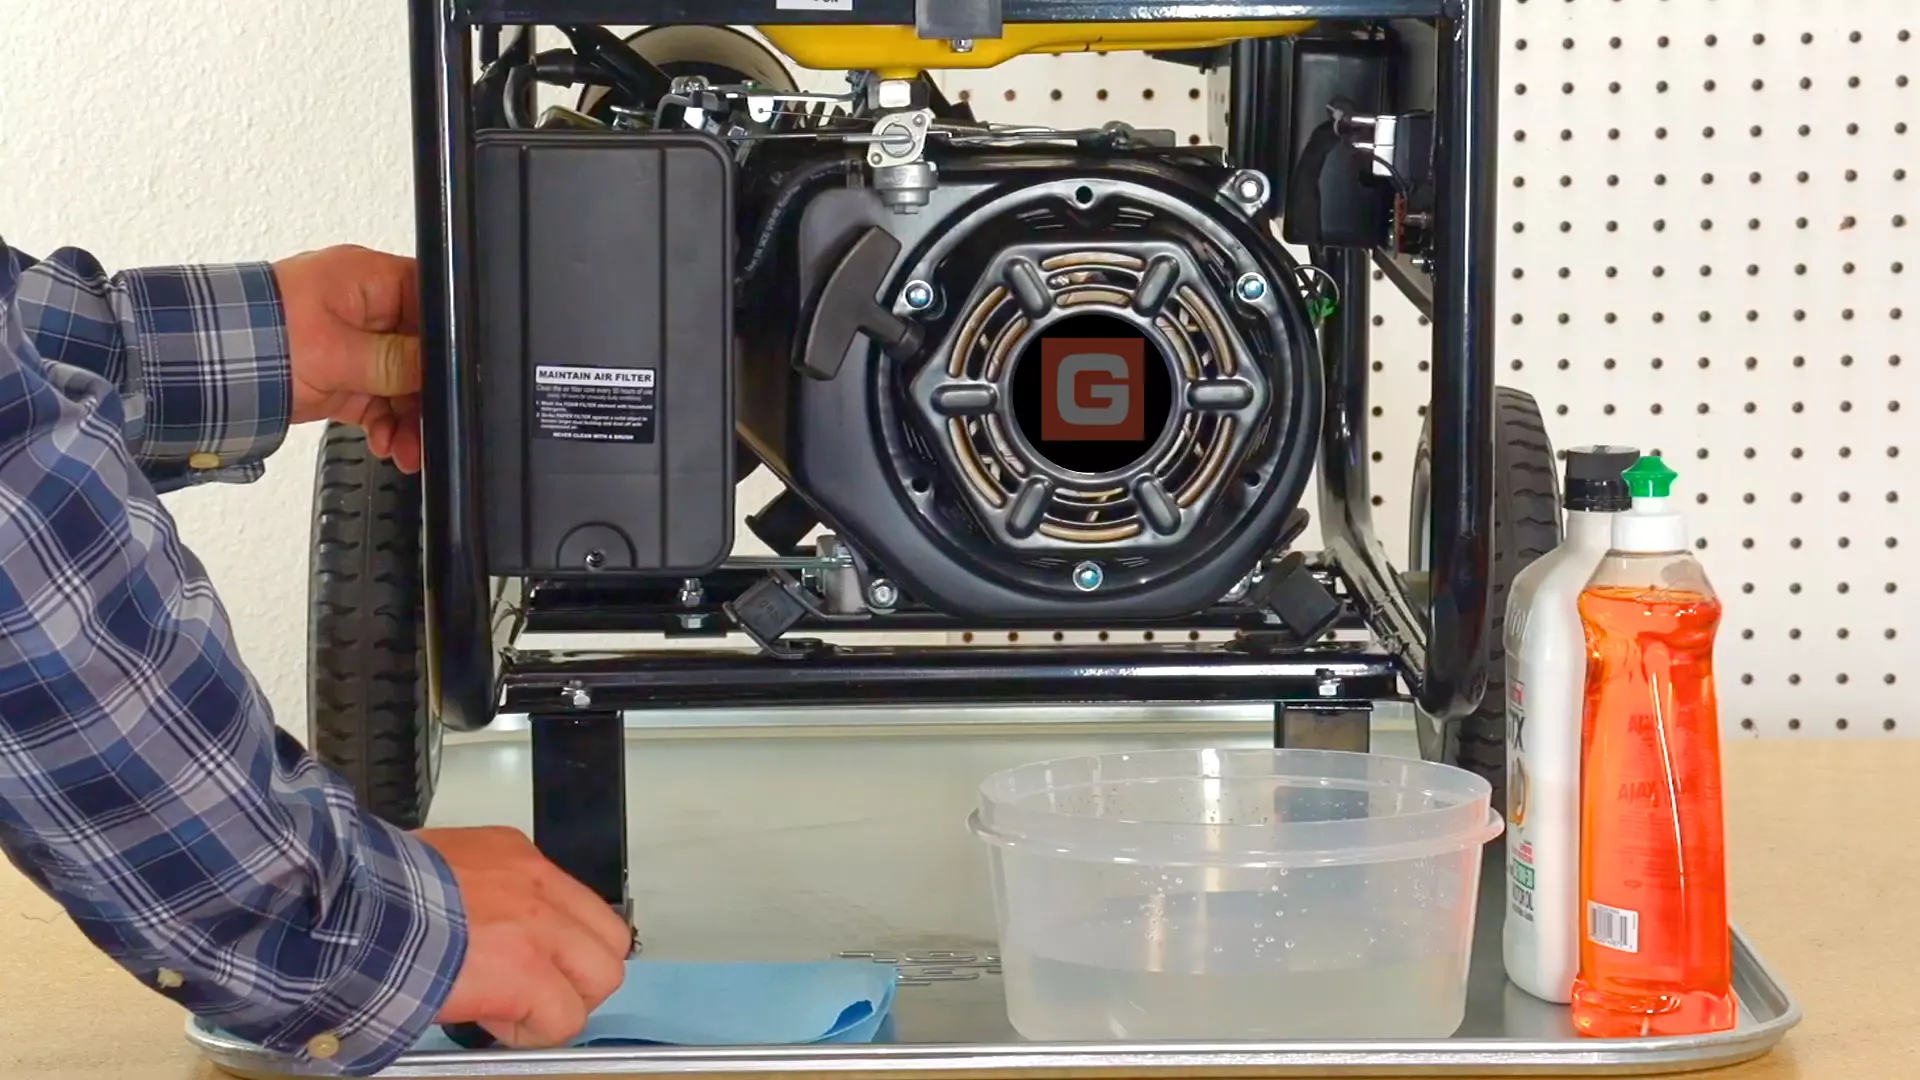
Step 1: Locate the Air Filter Assembly
Locate the air filter assembly on your open-frame generator. It is typically situated on the back, left-hand side of the generator, close to the recoil starter and carburetor.
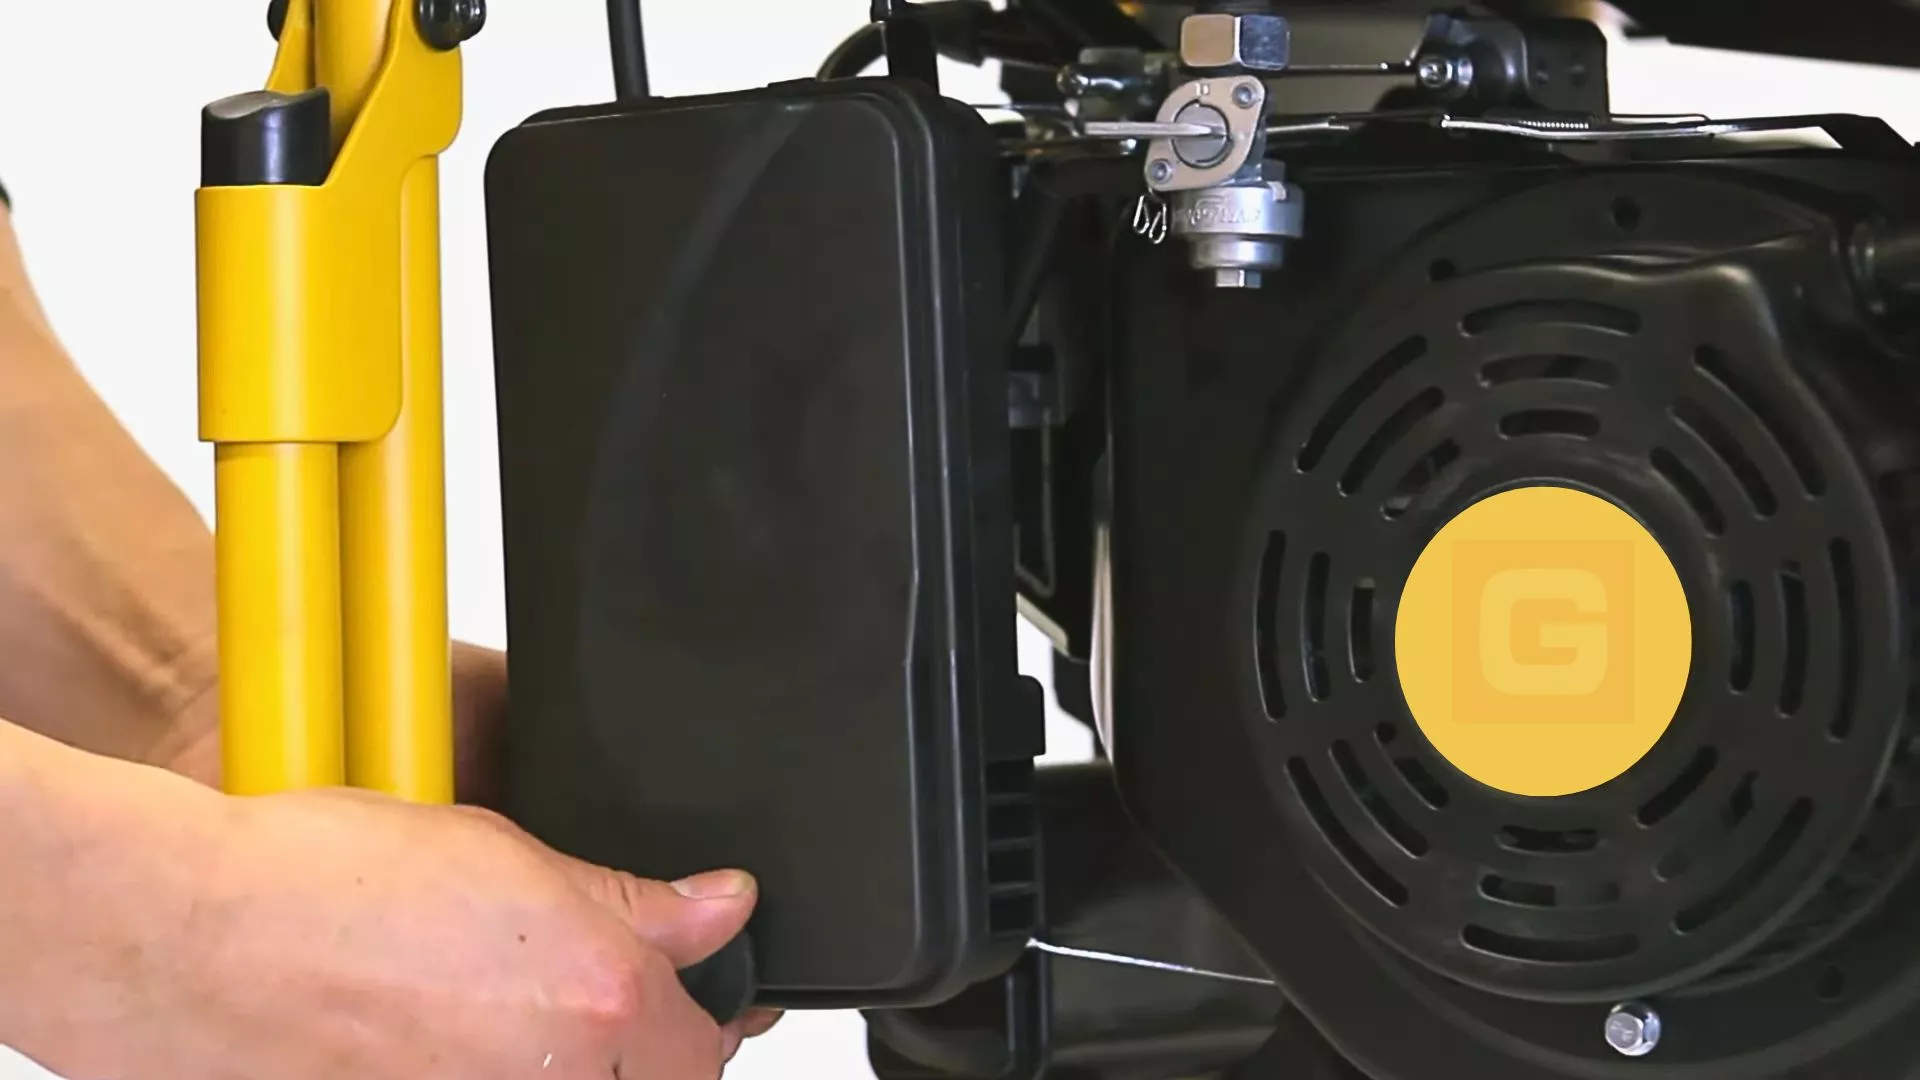
Step 2: Remove the Cover and Filter
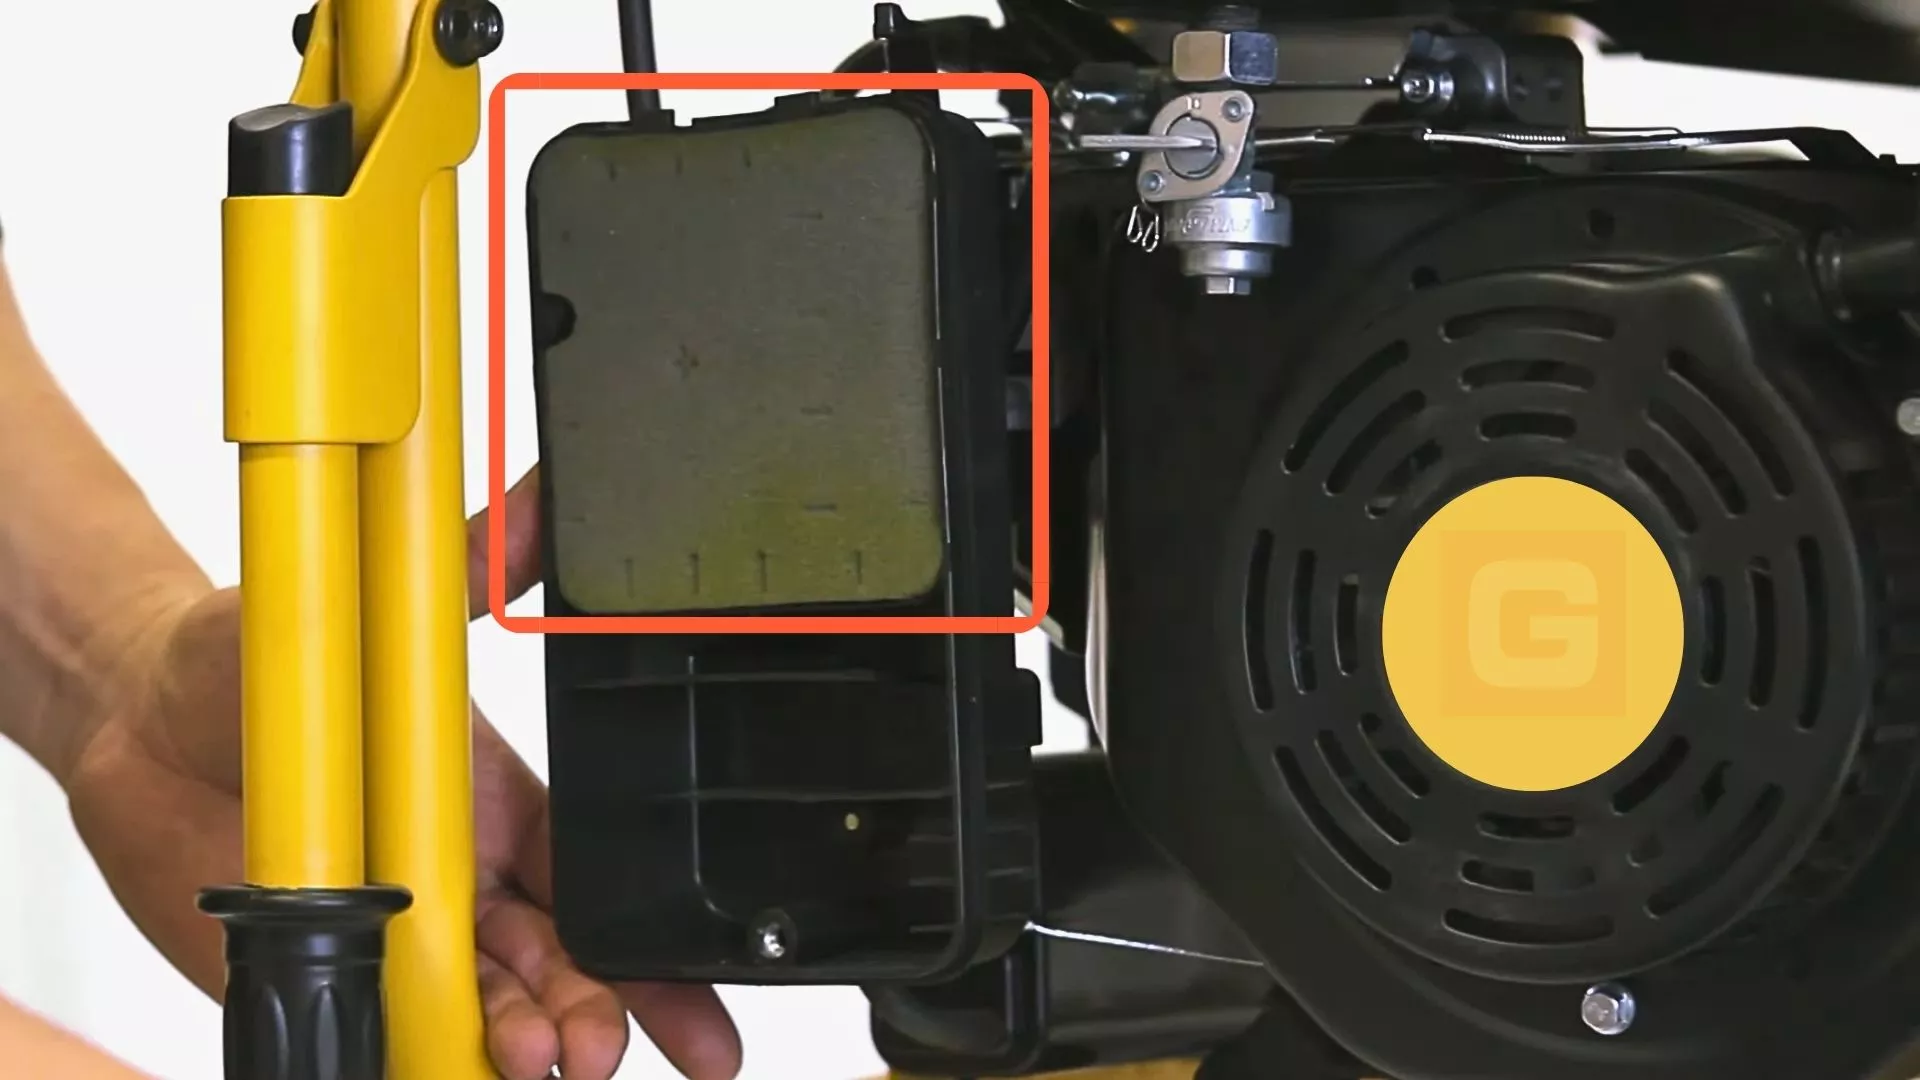
After finding the filter assembly, remove the cover. Depending on the model, you may need to remove screws, clips, latch holding, or knobs at the bottom of the filter cover to access the old air filter, then remove the foam air filter from the housing. Note that it may be oily.
Step 3: Remove the Metal Grate
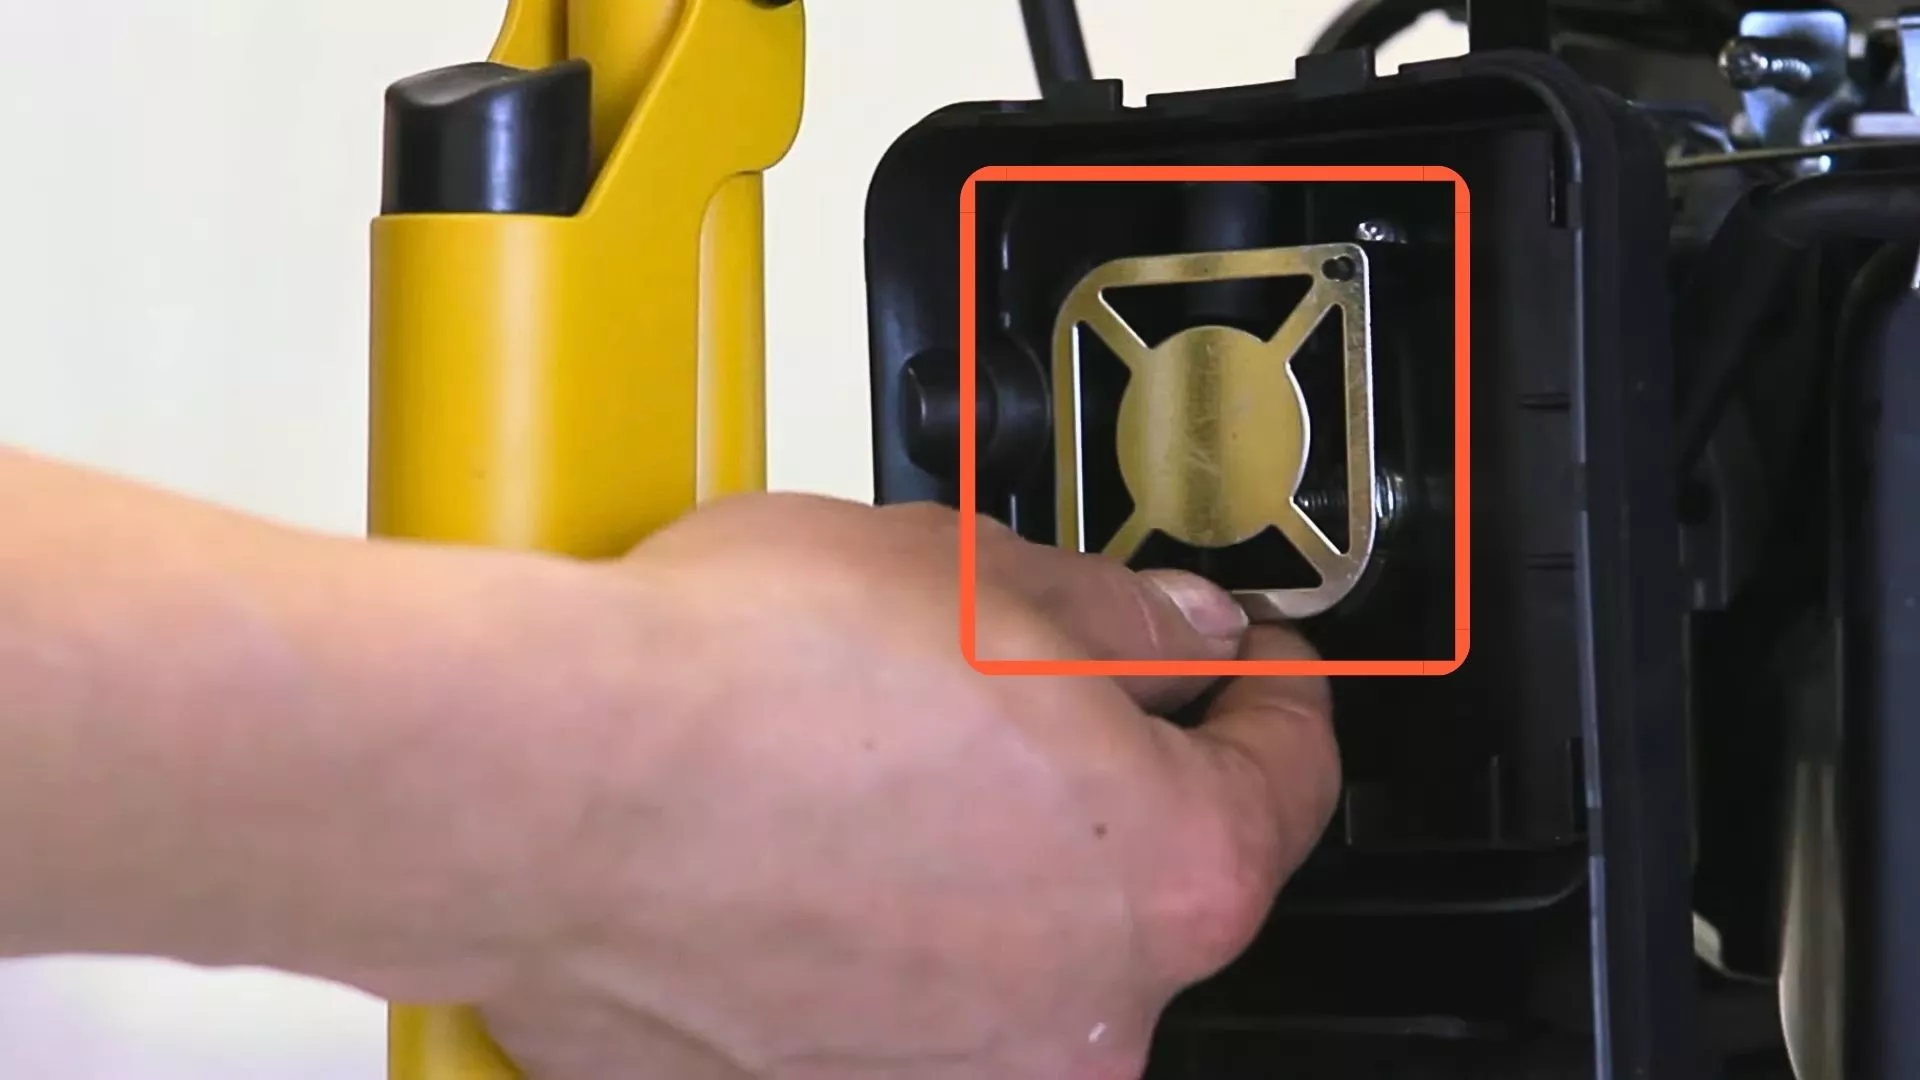
Once you have access and then remove the old filter, look at the metal grate, which is held in place by two plastic pins. Simply pull it straight off the pins to remove it from the air filter housing.
Step 4: Detach Rubber Hoses
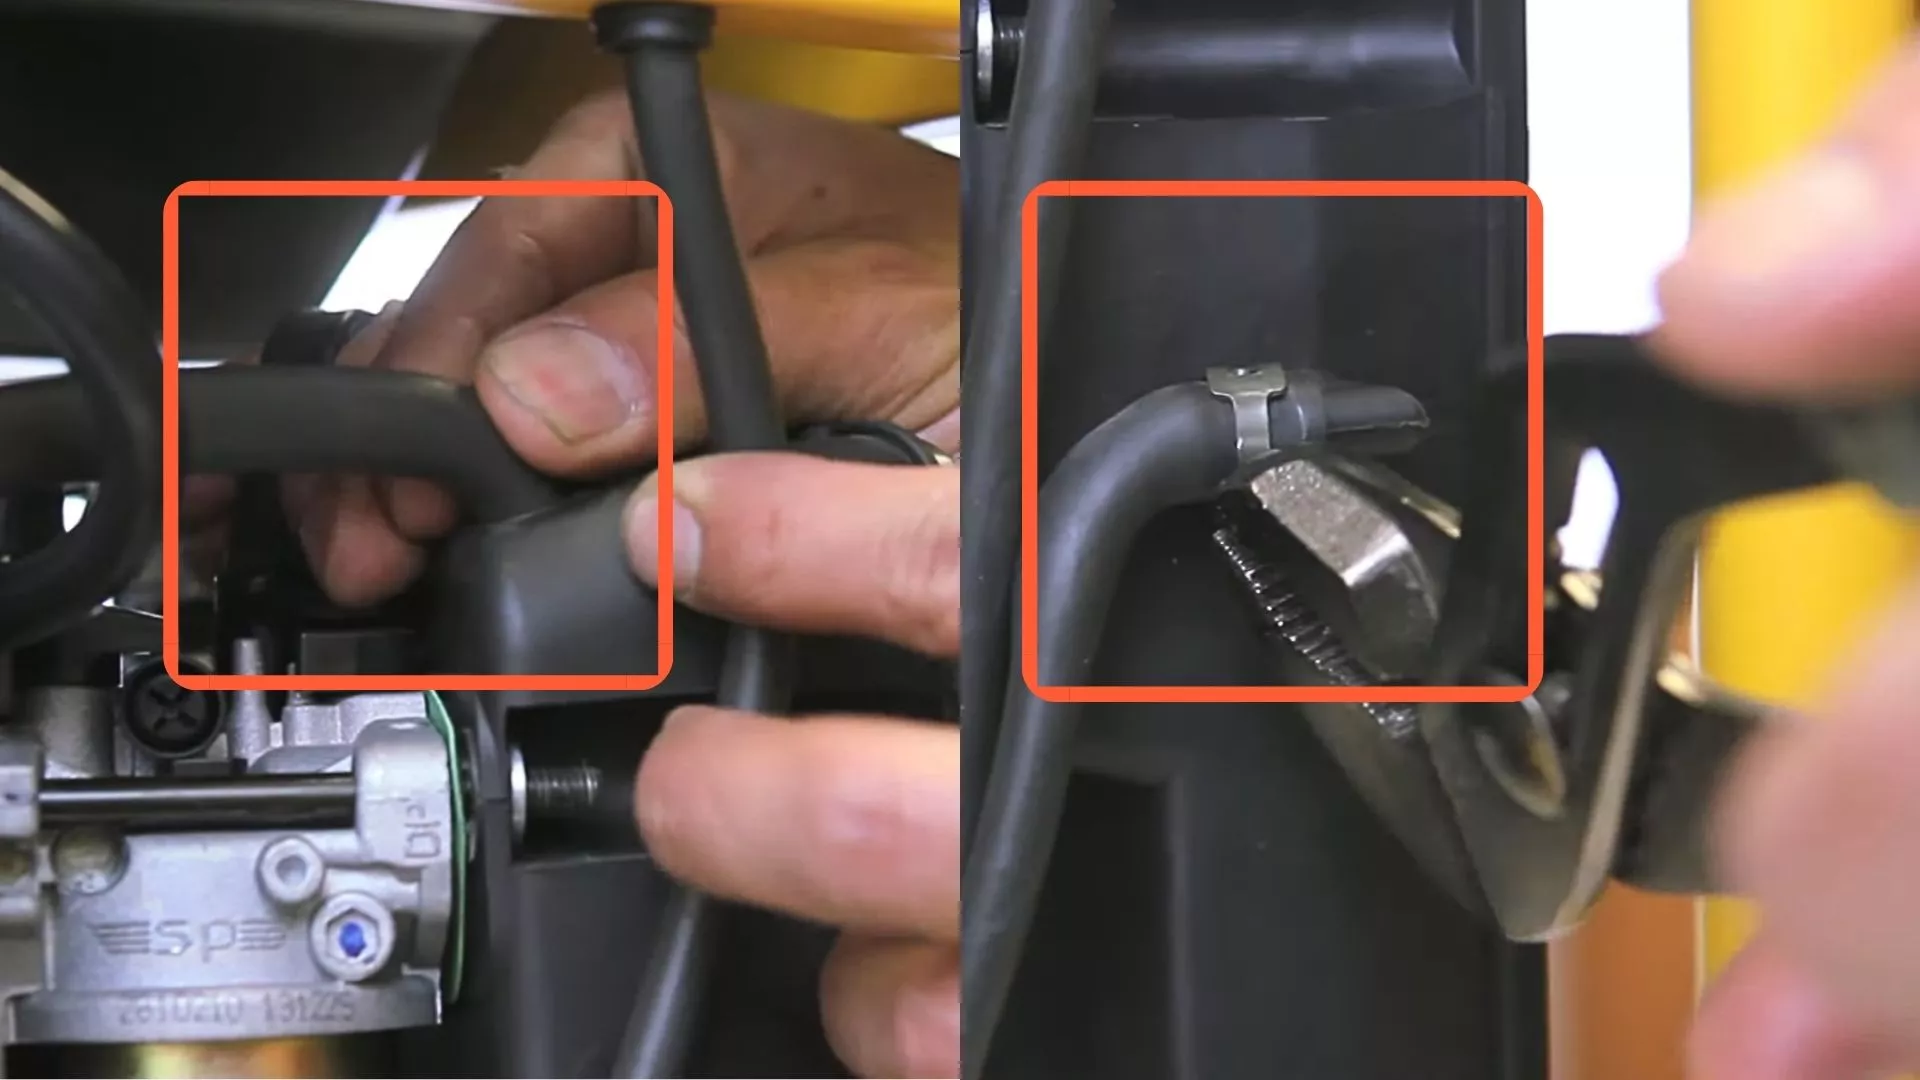
Take off the rubber tube on the back, left side of the air filter assembly. Use pliers to loosen the clamp holding it, then slide off the tube. Second, place another hose on top of the air filter assembly and simply remove it from the container. This time, the air filter assembly should now be loose.
Step 5: Removing Old or Broken Assembly
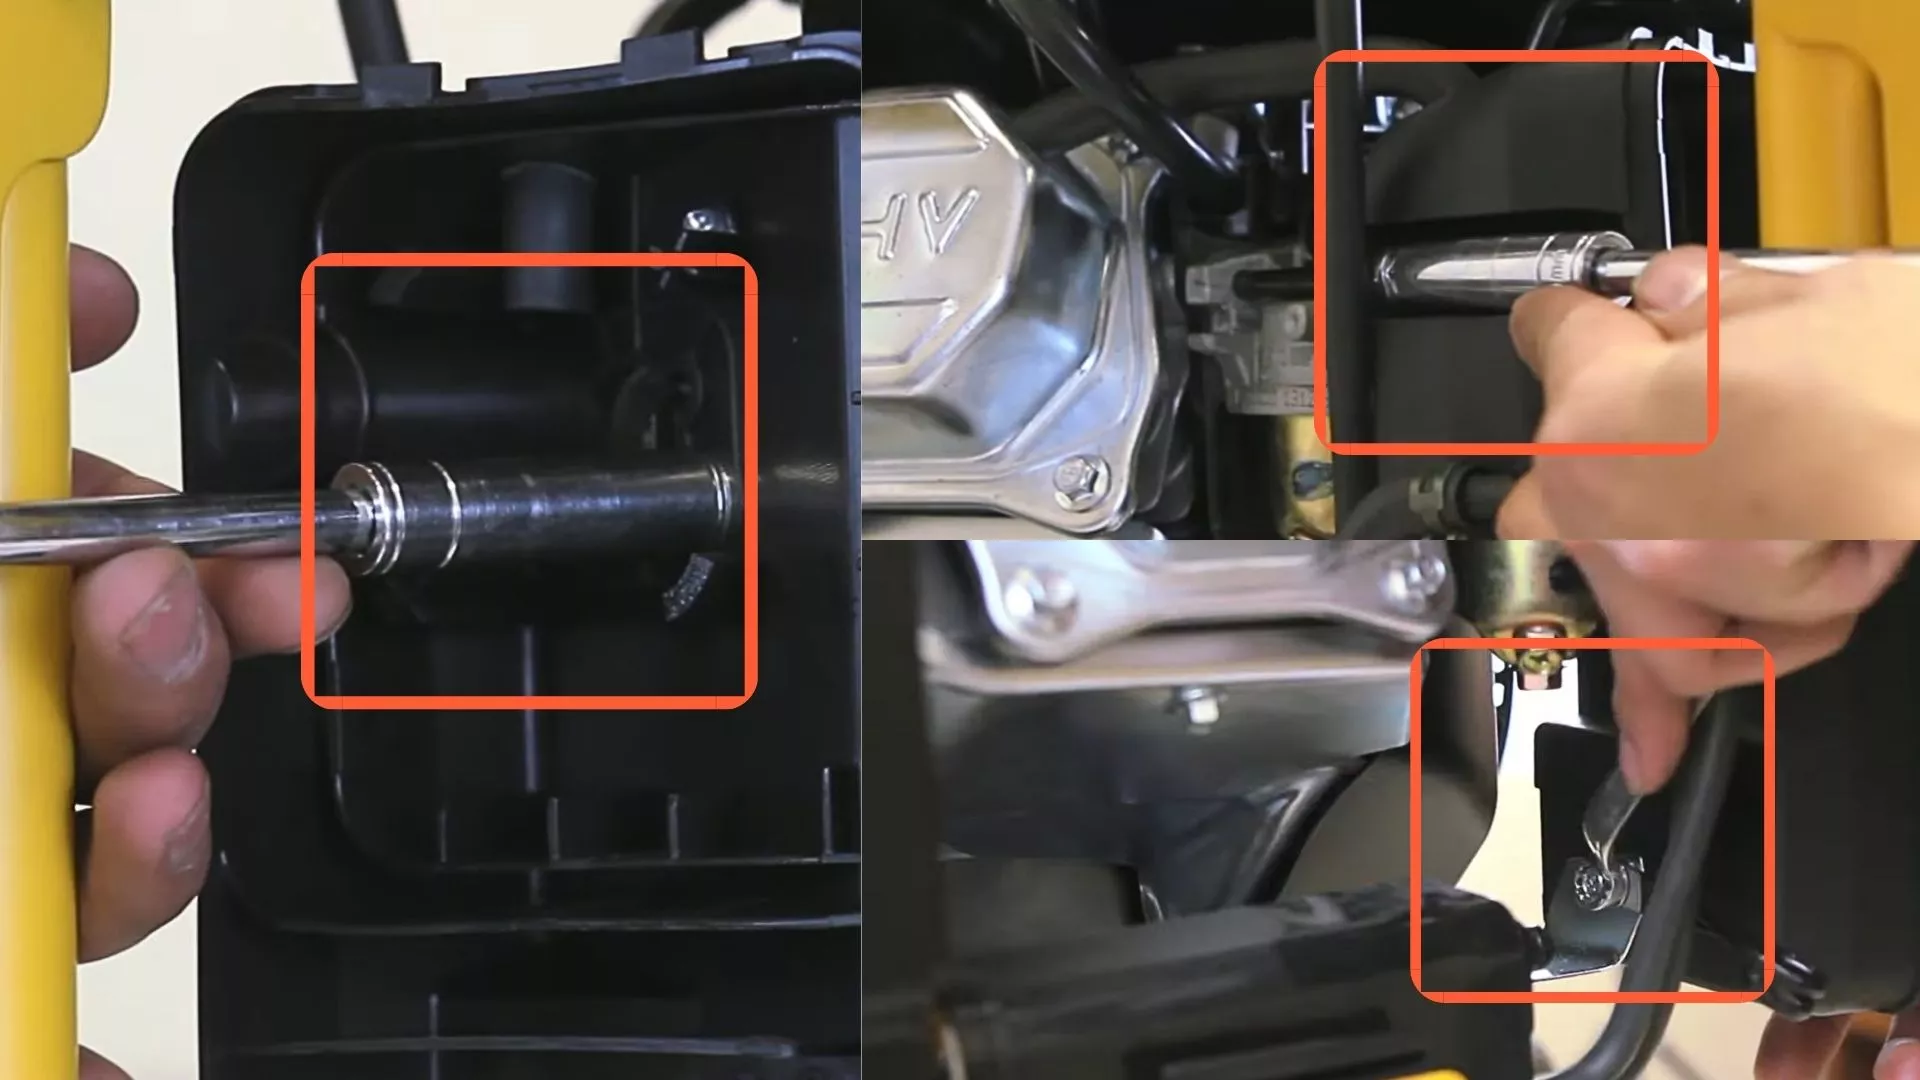
Finally, unscrew the three nuts securing the air filter housing. Take off the air filter assembly. First, use a T-handle socket that’s 10mm to unscrew the three nuts.
Turn them anti-clockwise, which means to the left, to loosen them. Keep in mind where each nut was positioned, one in the middle, the second on the top left, and the third at the bottom back. After removing them, the box should come off easily.
Step 6: Installing New Air Filter Assembly
To install the new air filter assembly, begin by sliding it onto the generator. Next, reattach the three nuts that were previously removed, one in the middle of the air filter housing, the second on the top left-hand side, and the third at the bottom, backside of the housing. Make sure both nuts are full-tight but not over-tight or loose.
After securing the nuts, plug both hoses back in. For the hose leading into the left-hand side of the air filter housing, use pliers to secure the clamp, while the hose on top can be reattached without any tools.
Once the hoses are connected, place the metal grate, ensuring it fits securely onto its threads, to prevent the foam filter from being sucked into the carburetor.
Finally, fit the foam filter back into the housing securely, and close up the casing with the air filter assembly cover. If the filter is old or dirty, you can clean it or replace it with a new one.
Video Guide
If you have any problems or difficulty with this replacement process at certain points, then you can watch this video.
Conclusion
Congratulations, You have replaced the air filter box or assembly on your generator, ensuring its successful operation over time. To keep your generator operating at its best, remember to include an air filter change, cleaning, and oil change in your routine maintenance schedule.


